This post shows you Easy Halloween Pumpkin Carving Tips and Ideas for Beginners
This post may contain affiliate links where I earn a small commission at no additional cost to you, view the disclaimer for more information.
We’ve all walked past those houses during the Halloween season—the ones with pumpkins so intricately carved they practically stop you in your tracks. The creativity on display is astonishing, often compelling you to grab your camera and marvel at the artistry that can be achieved with a simple pumpkin.
And for those of us who don’t have the same artistic flair, it’s easy to feel a bit daunted by these impressive designs. But don’t worry—these beginner-friendly pumpkin carving ideas are simple enough for anyone to master.
This guide will cover everything you need to know about pumpkins, from choosing the right pumpkin to selecting the best tools, and will give you some design ideas that are perfect for beginners.
How to Carve a Pumpkin for Beginners
Choosing Your Pumpkin
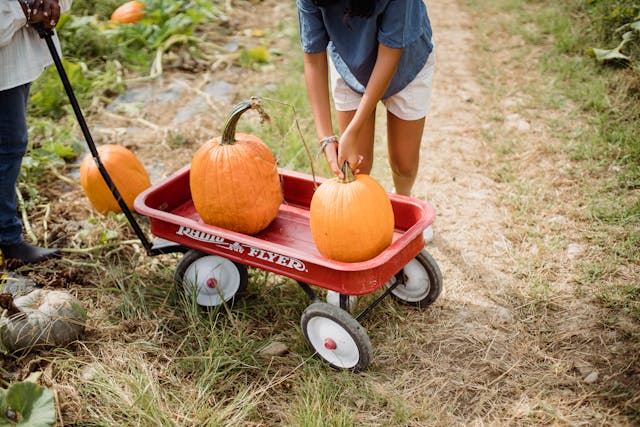
The first step in carving a pumpkin is choosing the right one. You’ll find the best pumpkins early in the season. Go to the grocery store or a nearby pumpkin patch.
Tips for selecting your pumpkin:
Start with a small pumpkin if you’re a beginner. Smaller pumpkins are easier to handle and carve. However, if you’re feeling confident, go for a larger pumpkin that can offer more space for complex designs.
Make sure your pumpkin has a sturdy stem. This will make it easier to cut the top off and provides a handle for lifting the lid.
Check for soft spots on the pumpkin. These indicate areas of decay and can make carving difficult. Choose a pumpkin that is firm all around.
A pumpkin with a flat bottom will sit better on a flat surface, preventing it from tipping over.
Save your best carving for the day before Halloween! This is because your pumpkin will begin to curl and turn brown. You want everyone to take in your amazing work of art at its best!
Prepare Your Work Area
Use a dining table or another flat surface to give you a stable area to work on.
Lay down some newspaper or cover your work area with a plastic bag. Pumpkin carving can be messy, and this will make cleaning up afterward a lot easier.
Have a large bowl at hand to collect the seeds and pulp from inside the pumpkin.
Time to Carve your Pumpkin!
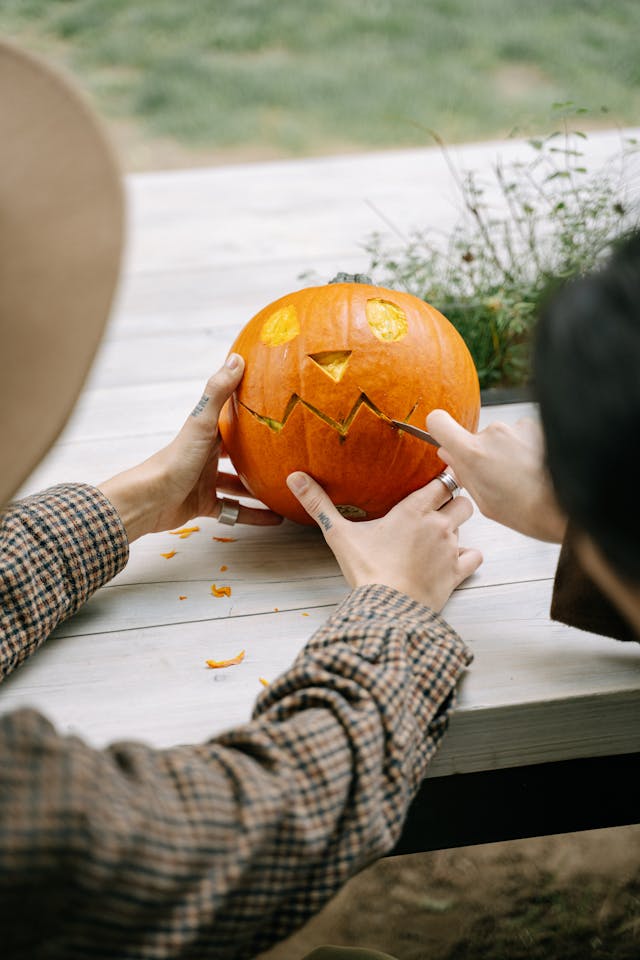
The next step is to cut the top of the pumpkin. You’ll need a serrated knife from a pumpkin carving kit. These knives are made for cutting through the tough skin of a pumpkin.
Cut at an angle, pointing the knife inward. This will create a ledge that prevents the top from falling into the pumpkin.
Make a notch or a v-shape in the cut. This will help you align the top of the pumpkin correctly when you put it back on.
Next, use a pumpkin scoop to remove the seeds and pulp. These scoops usually come with pumpkin carving kits.
Scrape the inside walls of the pumpkin to about an inch thick where you will carve. This makes it easier to carve and creates cleaner lines. The thinner the side where your design is going to be, the easier it will be to carve. Just don’t make it too thin.
You should end up with a nice and smooth pumpkin that’s clean on the inside.
Tips for Carving
Start by carving lightly. You can always carve deeper, but you can’t get those layers back if you carve too much. If you make a mistake, sometimes you can put a piece back on using a toothpick.
Thin out the side you’re going to be carving. The thinner the side where your design is going to be, the easier it will be to carve. Just don’t make it too thin.
If you’re using a stencil to poke the outline of your image, tossing flour on the pumpkin makes seeing your outline easier.
Don’t rush it. Give yourself permission to work as long as you need. Go detail by detail.
The Final Touches
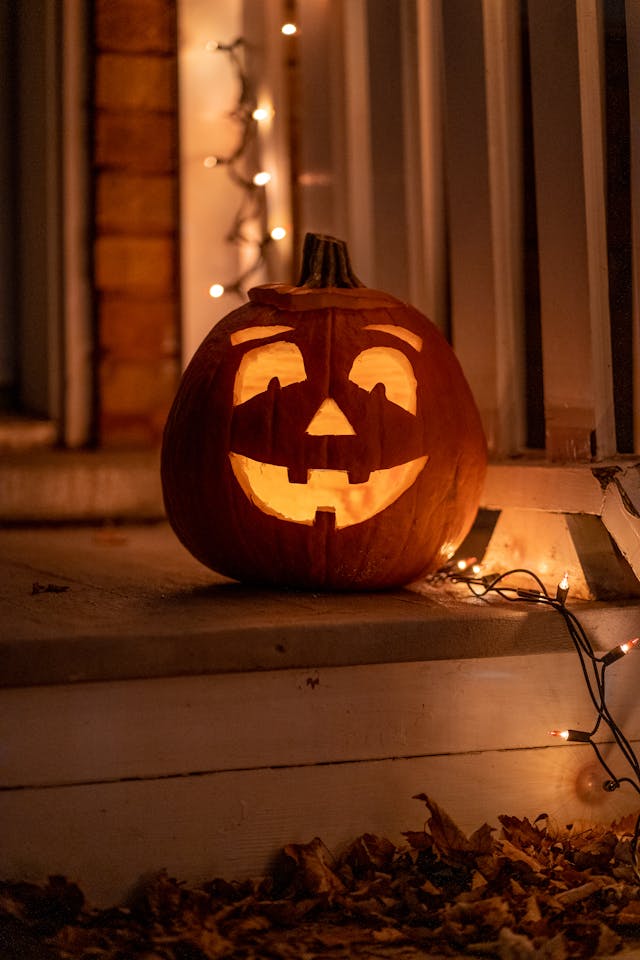
Once you’ve finished carving, it’s time to add the final touches:
Add a battery-operated light or LED lights inside your carved pumpkin. These are safer than candles and last longer.
Place your pumpkin on the front porch for everyone to see. This is a great way to show off your hard work and enjoy your Halloween decorations.
Some Simple but Spooky Pumpkin Designs for Beginners
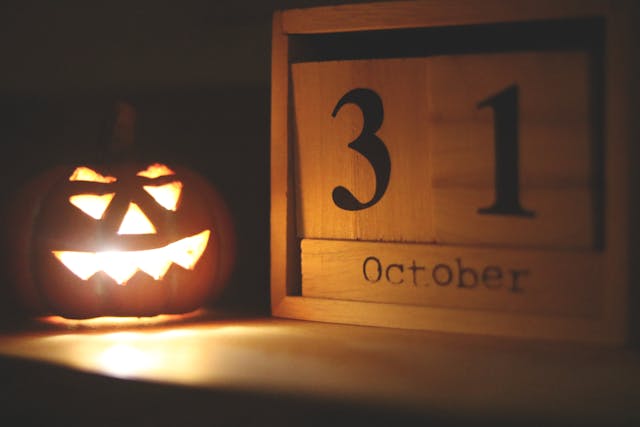
Classic Jack-O’-Lantern
One of the most popular and simple pumpkin designs is the classic Jack-O’-Lantern. Here’s how to create one:
Draw the Face: Use a washable chalk marker to draw two triangle eyes, a nose, and a big mouth with teeth. This classic design is both simple and effective. Use a serrated knife to carefully cut along the lines you’ve drawn. Take your time to ensure clean cuts.
Fun Twist
For a fun twist on the classic design, try using cookie cutters. Choose cookie cutters in fun shapes like stars or hearts.
Tap the cookie cutters gently with a mallet to cut through the pumpkin. This will create a unique and whimsical design that’s sure to stand out.
Cute Cat Pumpkin
If you love animals (especially cats) a cute cat pumpkin might be the perfect choice.
Use a washable chalk marker to draw a cat’s face with whiskers, eyes, and a nose. Cut out triangle shapes for the ears and attach them to the top of the pumpkin using toothpicks.
Boo Pumpkin
A “Boo” pumpkin is by far one of the easiest but effective design for beginners.
Use a washable chalk marker to write “Boo” on the pumpkin. Use a serrated knife to carefully cut out the letters.
Additional Pumpkin Carving Ideas
Scary Pumpkin Carving Ideas
If you’re looking to create something a bit more frightening for Halloween night, here are some scary pumpkin carving ideas:
Skeleton Hand Jack-O’-Lantern: Carve a skeleton hand reaching out from the pumpkin. This spooky design is sure to scare your trick-or-treaters.
Haunted House: Carve a haunted house with ghosts and bats. This intricate design can be challenging but is very rewarding.
Scary Pumpkin Face: Create a scary pumpkin face with sharp teeth and angry eyes. This classic design never goes out of style.
Creative and Unique Pumpkin Ideas
For a fun twist on traditional pumpkin carving, try some of these creative ideas:
Favorite Character: Carve your favorite character from a movie or TV show. This can be a fun challenge and a great way to show off your interests.
Little Paint: Use a little paint to add details to your carved pumpkin. This can help bring your design to life and add a pop of color.
Pumpkin Patterns: Use pumpkin patterns to create unique designs. There are many free patterns available online that you can print and use as a guide.
Easy Steps for a Perfect Pumpkin
To make sure your pumpkin turns out just perfect, follow these steps:
Plan Your Design: Decide on your design before you start carving. This will help you stay focused and avoid mistakes.
Use the Right Tools: Make sure you have the right tools for the job. A pumpkin carving kit is your best bet for beginners.
Take Breaks: If you’re working on a complex design (which btw I would save for later), take breaks to avoid getting tired and making mistakes.
Choose the Right Stencils
Stencils can make pumpkin carving even easier. You can get a pumpkin stencil kit from Lowe’s, Home Depot, Hobby Lobby, or Amazon or Michaels. These kits come with a variety of stencils and the tools you need.
Tape the stencil to your pumpkin. Use a toothpick to poke holes along the lines of the stencil. This will transfer the design to your pumpkin.
Sprinkle some flour on the pumpkin to make the outline easier to see.
Should You Soak Pumpkins Before or After Carving?
Soaking your pumpkin can help it last longer and look fresher. It’s best to soak your carved pumpkin in water for a few hours after carving. This helps rehydrate the pumpkin and keeps it looking fresh. Add a little bleach to the water to prevent mold. This can help extend the life of your pumpkin.
If you want your pumpkin to last even longer, you can mist it with water daily to keep it hydrated.
What is the Easiest Tool to Carve a Pumpkin?
A pumpkin carving kit is the easiest tool for beginners. Here’s why:
Serrated Blades: These kits come with small serrated blades that are perfect for carving pumpkins. They make it easier to cut through the tough skin and create detailed designs.
Safe for Older Children: The tools are generally safe for older children to use under adult supervision.
Intricate Designs: The small blades make it possible to create intricate designs that would be difficult with a regular kitchen knife.
And when you’re ready for more detailed work, consider using a wood carving kit. Wood carving kits come with a variety of blades that can help you create different textures and details in your pumpkin. These help create clean lines and allow for more creativity in your designs.
Pumpkin carving is a great way to get into the Halloween spirit and enjoy the holiday with the whole family. But it’s also important to take your time and enjoy the process. Happy Halloween!